

Love the look of wallpaper however reside in a rental? Or perhaps you simply have a worry of getting to take away wallpaper down the highway? That is the answer for you! Discover ways to make ANY conventional wallpaper detachable. It is renter-friendly AND good for owners who don’t love eradicating wallpaper!
I looooooove wallpaper. Deeply. I like how a lot shade and curiosity it may well add to an area. However I’ve eliminated sooooo a lot wallpaper in our former houses. And I’ll be frank…eradicating wallpaper SUCKS. We had one room that it doesn’t matter what we did (rented a steamer from House Depot, scored it and utilized the perfect wallpaper removing paste), it might solely come off in tiny strips. It was a horrible expertise.
So though we personal our house and do not hire, I needed to discover a strategy to make conventional wallpaper straightforward to take away. Not solely wouldn’t it be the proper resolution for hesitant owners like me, however I knew it might even be an excellent renter-friendly resolution. Why not simply use peel-and-stick wallpaper? I’ve put in detachable wallpaper many occasions (it’s TRICKY at first–I’ve gotten fairly good at it), nevertheless it tends to be far dearer than conventional wallpaper and it wasn’t accessible within the wallpaper I needed to make use of.
I did my analysis and located that many individuals have used liquid starch to use conventional wallpaper AND take away it simply! It is such an affordable and easy resolution. So let’s dive into the tutorial!
Find out how to Make Conventional Wallpaper Detachable
Supplies wanted

Step 1- Clear
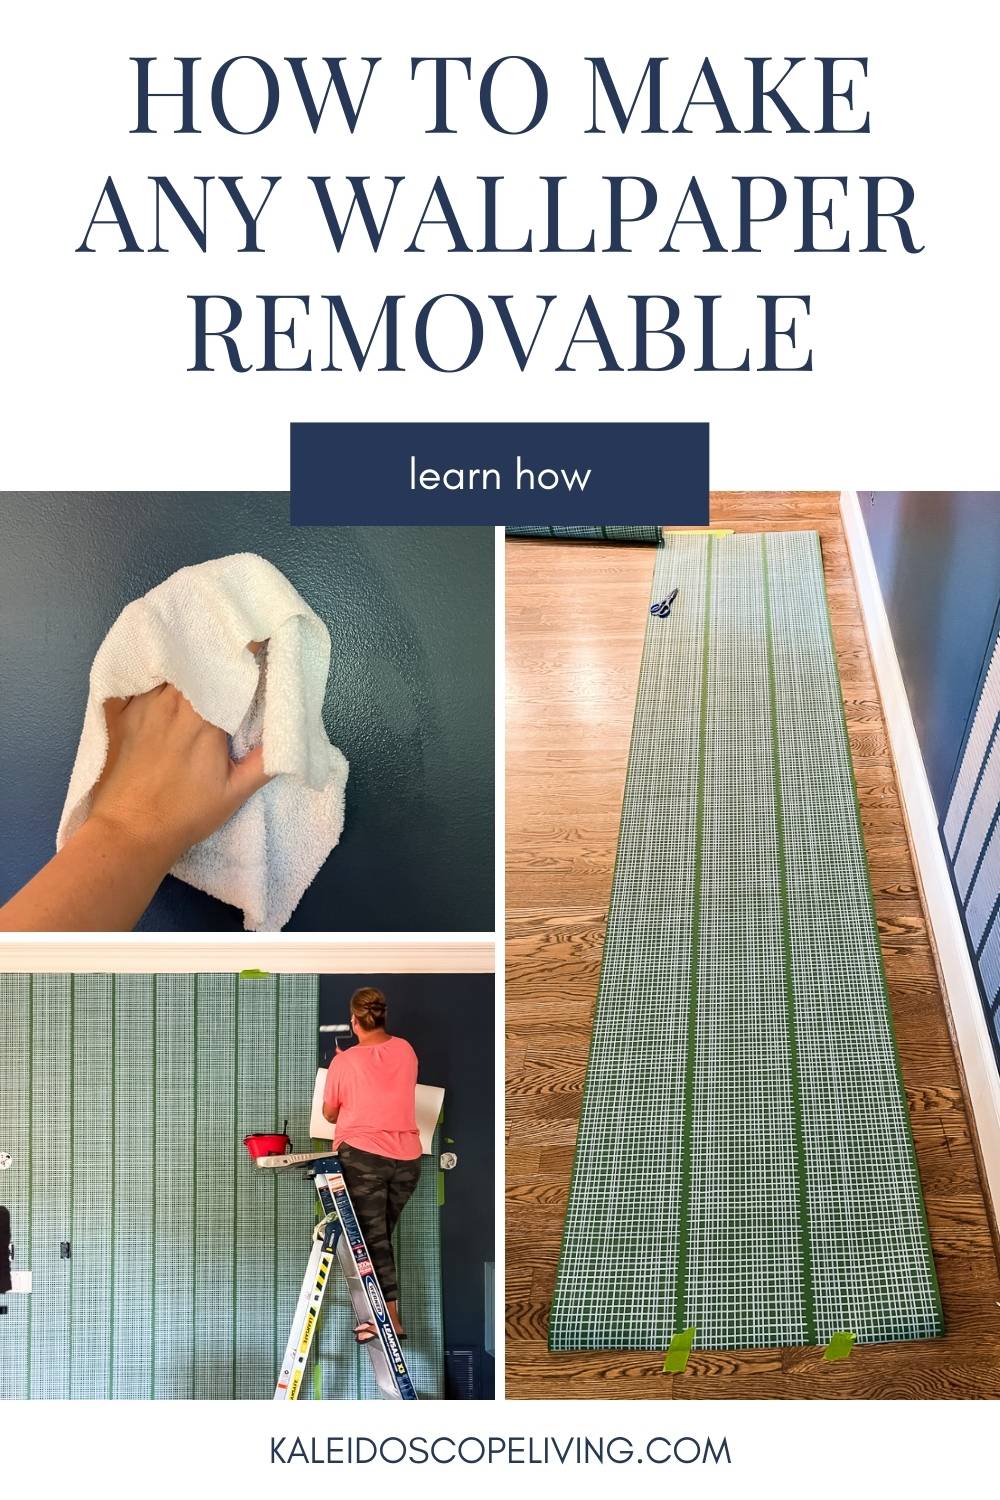
Clear your wall(s) with a moist rag and let it dry fully. Your wall needs to be clear for this to work!

Step 2- Lower your wallpaper to size
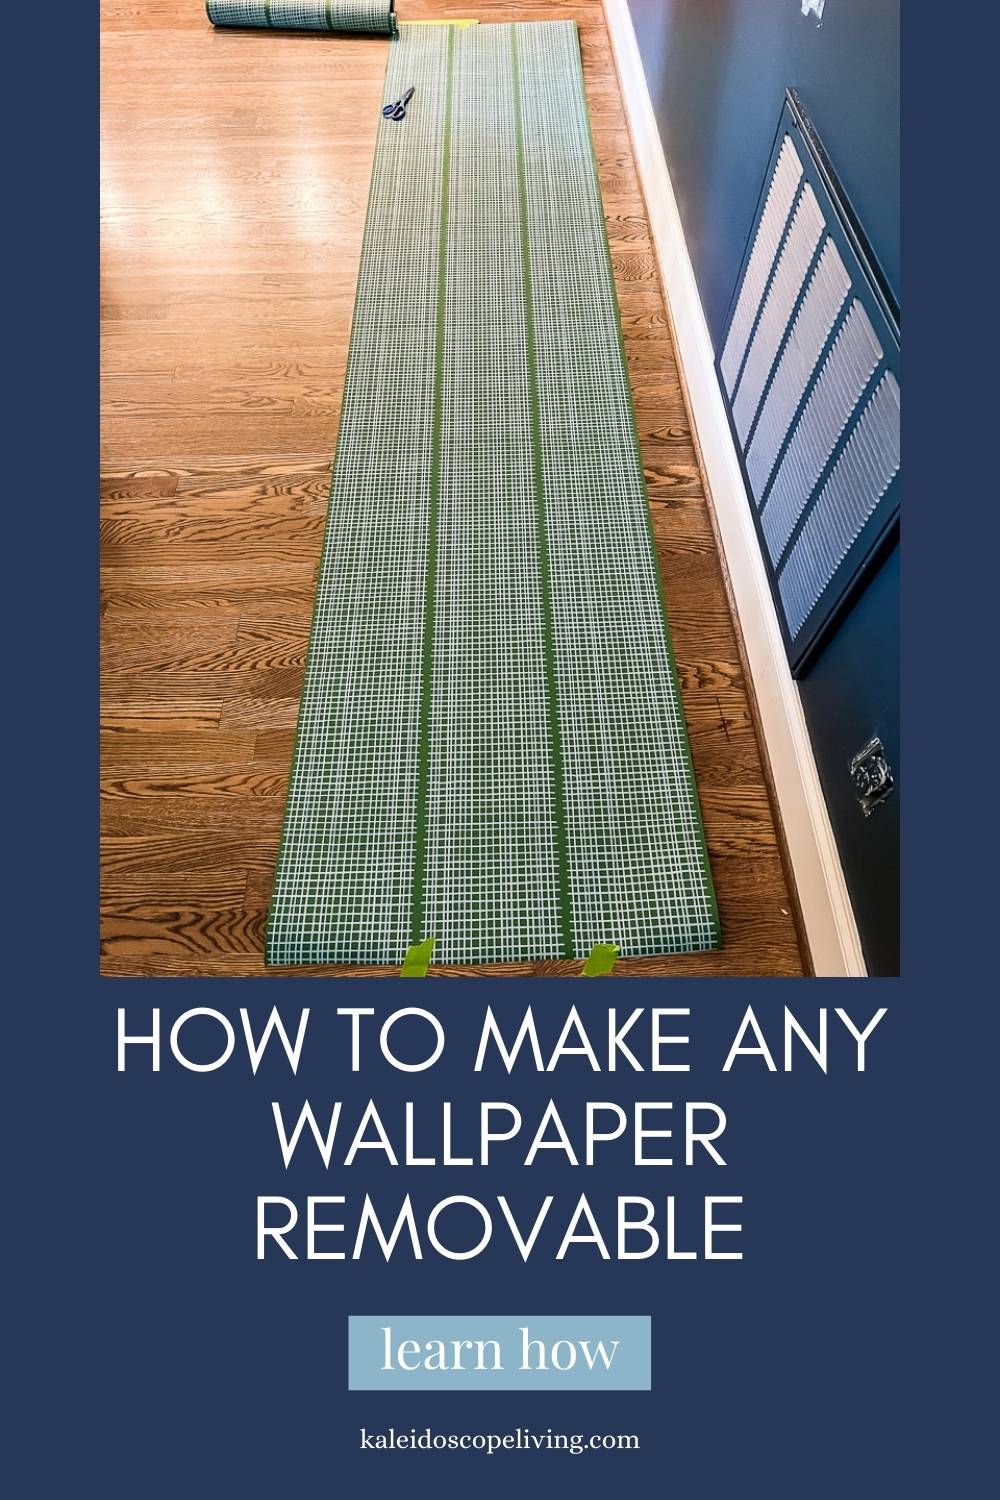
Subsequent, lower your wallpaper into strips which are no less than 4 inches longer than the peak of your wall. Why have extra? You’ll want to depart your self sufficient room to trim off the surplus on the prime and backside after the wallpaper is hooked up.
I did this by measuring out the size on our ground and marking the size with painter’s tape. That method I solely needed to measure as soon as. Then I taped down one finish of the wallpaper as I rolled it out and lower it to size. Since I tackled this undertaking solo, this was the best strategy to do it with out the wallpaper rolling again up on me! If in case you have a wallpaper with a sample repeat that’s exhausting to match up, you might wish to pre-cut all of your strips. However this wallpaper was NOT exhausting to match up so I did not pre-cut all my panels directly.

Step 3– Mark your plumb line
Use a laser stage (that is the one I’ve and LOVE) or a stage and pencil to mark your vertical plumb line. Do NOT assume your ceiling and/or trim are completely straight and stage and depend on it when lining up your wallpaper. You’ll be able to see my inexperienced laser line alongside the appropriate fringe of my first wallpaper panel under. See the place it extends onto the ceiling as properly? It is inexperienced so it blends in a bit with the wallpaper within the picture.

Step 4- Apply the liquid starch
Pour your liquid starch into your paint tray or bucket and saturate your paint curler with it. Gently roll off the surplus in your tray. Then apply it liberally to your wall in sections. You don’t want to use it to the wallpaper, simply the wall. I labored in about 5-foot sections as a result of I discovered that the liquid starch dries fairly shortly.
Step 5- Apply your wallpaper
Utilizing your plumb line as your information, begin making use of your wallpaper from the highest of your wall leaving a little bit of overlap on the prime (that you’ll trim off later). Gently easy the wallpaper into place with a moist rag or sponge working from the middle out, smoothing out any wrinkles as you’re employed. Whenever you attain the underside, use a straight edge to firmly maintain the wallpaper tightly towards the sting of your trim (or ground if you do not have trim) and use a VERY SHARP utility knife blade to chop off the surplus. Repeat this step on the prime of your wall as properly. A pointy blade is necessary. Should you use a uninteresting blade you’ll rip your wallpaper. You additionally want to make use of a pointy blade to trim round any retailers/mild switches alongside the way in which. I had a ton of obstacles to trim out with my first panel. Simply fastidiously really feel for and comply with the perimeters of {the electrical} containers beneath the wallpaper and go slowly.
The primary panel was the best to place up since I solely needed to line it up with the plumb line. The remaining panels had been a bit trickier since I used to be doing this solo. It will be a lot simpler with 2 folks. However Joe was on shift and I needed to get this wallpaper hung. So in lieu of a second set of fingers, I turned to my trusty pal painter’s tape.
As you may see under, I matched up my sample and seam BEFORE placing any liquid starch on the wall and taped it into place alongside the sting the place it matched up with the sting of the prior panel. Then I flapped the highest part again to use the liquid starch after which rubbed the highest of the wallpaper into place. As soon as the highest of every panel was in place, I may take away the remainder of the painter’s tape and work my method down the wall working in 5-foot sections simply as I did with the primary panel.


As a result of the liquid starch is not fairly as sticky as wallpaper paste, it typically took a bit extra work to get the perimeters to stay, particularly because the corners of our partitions are rounded. I simply needed to apply a bit extra liquid starch to the perimeters and maintain them in place a bit longer to get this curved edge to stay.

That is it! This wall (which is about 14 ft vast by 10 ft tall) took me about 4 hours to put in this wallpaper. And several other extra hours to take away the cabinets, lights, and so on. and exchange all of them after the wallpaper was carried out.
I do suppose it might have been sooner/simpler to put in with conventional wallpaper paste (see why in my necessary notes under) BUT I believe the additional effort can be properly value it with how straightforward it will likely be to take away down the highway (as a lot as I freaking LOVE this wallpaper, I do know myself properly sufficient to know that I am going to wish to change it after a number of years, lol).
Necessary notes about utilizing liquid starch to hold wallpaper
- The liquid starch is fairly forgiving. If I made a mistake or there have been too many wrinkles, I may simply peel the wallpaper again, apply slightly extra liquid starch and do it once more.
- I do really feel like there are extra wrinkles to easy out as you’re employed with liquid starch vs. conventional wallpaper paste.
- The liquid starch isn’t as sticky as conventional wallpaper paste and you may’t wiggle your wallpaper round to get it into the proper place like you may with conventional paste. So, in some methods, it was more difficult to work with particularly if you do not have an additional set of fingers.
- Should you do not care concerning the ease of eradicating wallpaper, use conventional paste! It is simpler to work with.
- The liquid starch utility is simpler than putting in peel-and-stick wallpaper (which I’ve put in many occasions) and it is FAR extra inexpensive!
I haven’t got any fairly completed photographs for you as a result of you may see we now have one other difficulty to take care of…
We have to take care of the navy blue retailers and receptacles and the HUGE air return vent cowl that’s such a watch sore. They blended in fantastically when the wall was navy blue. Not a lot now, lol!
Keep tuned to see how we take care of these in order that they mix in as a substitute of stick out like sore thumbs! However you may see the picture I snapped after I lastly completed placing all the pieces again up as soon as I completed that night time to get an concept of the way it appears!

What do you suppose? Does understanding how you can make any wallpaper detachable make you rather less nervous about committing to wallpaper?
If you wish to save this put up to refer again to it later, remember to pin it to Pinterest 🙂
Different posts you might take pleasure in:
Questioning how I method reworking rooms and areas in our house? Try Designer in a Binder®.

And in order for you unique content material and behind-the-scenes sneak peeks, remember to subscribe earlier than you head out!

